
Yesterday I showed you how to make this window framed with fabric. Today I will show you the sweet bunting that I made to add detail to my soon to be head board.

Materials Needed for part 2:
- Fabric
- Card stock to make a template
- Ruler
- Pen
- Sharpie
- Scissors
- Bias Tape
- Sewing machine OR you could hand sew this project
Again my wonderful mom provided the fabric for my bunting. These fabrics can brighten up any sad day!

Next I needed to create a triangle template so I could cut out my fabric.

I did not want a large triangle so I guesstimated what would be a good size for this project.


Next I laid my template on each of the fabrics and traced it onto the fabric using a sharpie


Next: I hand cute out my triangles because I wanted it to have a home made feel. You could also use a rotary cutter and that would work well too.

I laid out my triangles on my frame to make sure I had enough to go across the whole frame.

Next: I sewed around the edges of each triangle to give them some weight. After I sewed each triangle I pressed them.

I wanted a simple bias tape so it would not take away from my lovely fabrics

I took my bias tape and ironed it in half.

Next: I slipped each triangle into the new pressed seam of the bias tape, and pinned it together. REMINDER! leave a tale of bias tape so you can staple it to the back of your frame
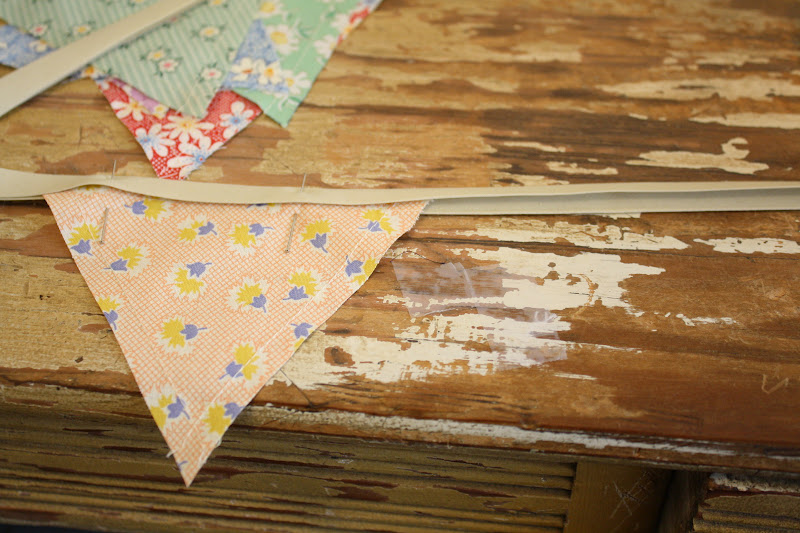
Next: I sewed right down the center of the bias tape

Once your bunting is done staple it to the back of your picture frame

LOOK!!! YOU'RE DONE!!!! I will take pictures this evening of this lovely project hanging in its new home.

The Joyful Thrifter
Pin It Now!
So creative! It looks so sweet and inviting.
ReplyDelete